Are you looking for a unique and creative gift to give this year?
A few weeks ago I posted 6 tutorials for simple on-day weaving projects. This woven box tutorial was originally going to be a part of that list, but it turns out that this box takes more than a day to complete.
The biggest reason this box will take you a bit longer is because of the materials being used. Using stiff linen makes it so this box is rigid enough to stand up and actually perform as a box. This linen is also on the thinner side which gives it a nice look and smoother appearance.
You could weave this up with larger yarns to make it go faster, but it may not have the same stability that you can get with the smaller linen.
While this box would make a great gift in and of itself, you could also use it as a gift box for something else! Perhaps another woven gift or some jewelry?
If you are looking for more weaving projects for small gifts then make sure to check these out:
This page may contain affiliate links. If you purchase something through these links then I will receive a small commission – at no extra cost to you! Please read our DISCLAIMER for more info. Thanks for the support!
Materials you need
Frame loom ( I am using a simple frame loom – see why I like simple frame looms! )
Cardstock or other thick paper
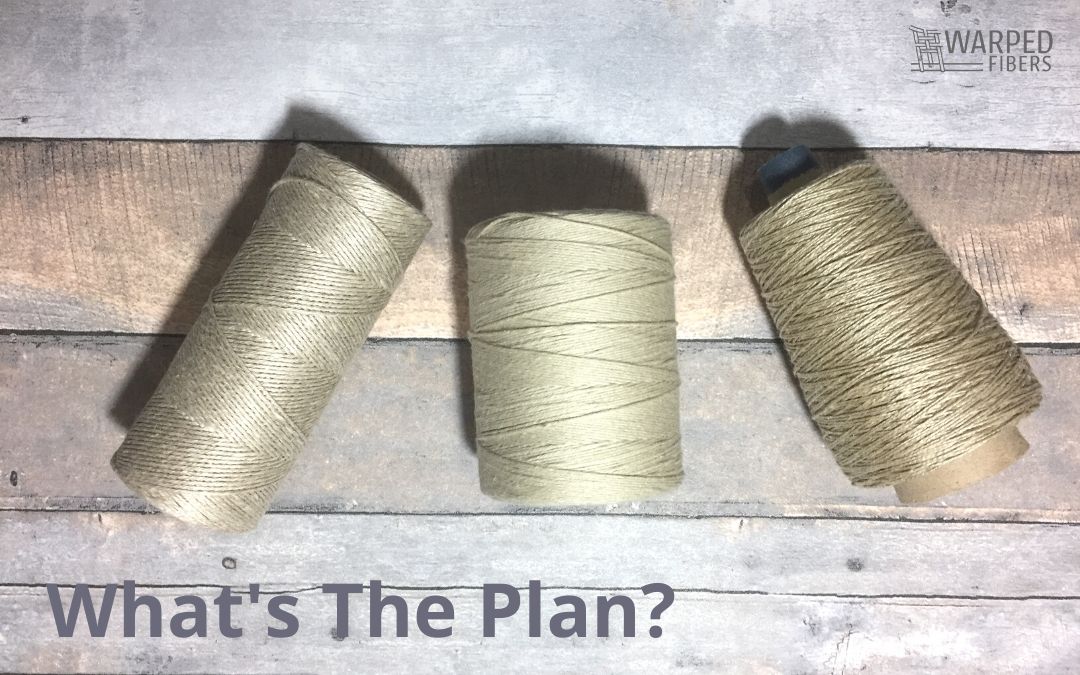
Linen yarn ( I am using Bockens Linen 16/2 in colors 1440 and 1223)
Tapestry needle (learn about the different types of tapestry needles here)
Tapestry beater or comb (learn about types of tapestry beaters here)
Making a mock-up box
If you have ever had to break down a box (hello Amazon!) then you know that they are originally designed flat and with flaps that fold up and around each other.
One of the best ways to determine how to weave your box is to make a diagram and a paper version to make sure that it works first before you spend the time to weave it.
You can do this with any paper you have, thicker paper will hold up a bit better, though.
First, you should draw out a diagram (as seen in the first box above.) If you are using it to specifically hold something then make sure to keep the size of that in mind! I recommend writing out your measurements on your paper box to make it easier to transfer them to your woven box.
Your deconstructed box will basically look like a giant plus sign. Each arm of the plus sign will end up folding up to create a side of the box.
Once the bottom of your box is done, do almost the same thing for the top. Your box top will have shorter sides and be just a bit wider on each side. This will make sure it can easily sit on top of your box without pulling it in.
Weaving your gift box
The box that I made is a great size to hold some jewelry or small trinkets. The base of the box is 3″ x 2″ and the sides are 2″ x 2″.
This means that you need a total weaving width of 6 inches. (2″ for each flap and 2″ for the bottom)
Using the Bockens Lingarn linen your weaving will be 8 EPI with 48 warp ends total.
You can learn more about EPI here.
Depending on what you want your box to look like you can choose different colors or do all the same color. I chose to do 2 colors just to make it a bit more interesting to weave up and to give it some extra interest when it is finished.
The first part of your woven box involves weaving one of your sides. This equates to the bottom part of your plus sign. This shaped weaving will have a lot of open warp – which might seem odd if you have never woven like this before. You can think of weaving this portion just like weaving a square in the middle of your warp. Remember: this square will be 2″ wide and 2″ tall.
Once your first square is woven you need to add some spacers next to your square to prepare for the next section of weaving.
Whenever you have to weave with empty space below it is best to put a placeholder in your warps to give you something to beat against and make sure things stay in place. I never recommend weaving with empty space below because it makes your job unnecessarily hard.
Do not make this hard on yourself!
All you need to fill in these gaps is some thick paper, like cardstock, that is cut to be the height of the bottom-most woven flap. It is best to weave your bottom square first and then add your paper into the warp so it does not get in the way.
Now you can weave up the middle portion of your box!
This portion of your box includes the longer sides of your box and the bottom. You will want to weave all the way across from selvedge to selvedge and up 3 inches.
Make sure to watch your selvedges and keep them as straight as you can. Otherwise, your box will be a bit wonky.
Follow these tips for weaving straighter selvedges.
When your middle section is completely woven you can move onto the top square! This will be the exact same size as the first portion of the weaving. You will not need more spacers though, because you will be beating against the already woven portion below it.
The last step in your weaving is to basically do it all again.
But smaller.
A.K.A. weaving your box top!
The top of your box will have similar dimensions to the bottom. You will want to make the base of the top a little bit bigger, though so that it can fit snug, but not pull in the bottom.
The dimensions of the box top are 3.75″ x 2.75″. This adds about a quarter of an inch to each side of the base (middle) of the top and creates flaps that are a quarter of an inch as well.
When you start weaving up the middle portion make sure to add in your placeholders next to the first flap.
Finishing your woven box
You will want to choose a finishing technique for all of your warps that creates a clean edge. This will give you the best look for your box. I recommend weaving your warp ends back into the warp channels to create a smooth edge.
Once all of your ends are finished you can construct your box by folding up all of your sides. The linen will aid in making your box stiffer and your sides will retain the memory of the fold you put in it. This will be helpful when you are in the process of sewing it up.
Learn more about linen yarn here!
To sew your box:
Thread your tapestry needle with a long strand of yarn that is folded in half and knotted at the end. This is your working yarn.
Attach this yarn at the base of one of your flaps by exposing a warp and wrapping your working yarn around it. Bring your needle through the loop of your working yarn and pull tight.
Bring your flaps together and line them up so that they are even at the top. Sew your working yarn around the corners and to the top. Tie a knot to secure it and do it all again on each corner of the box.
Do the same thing for the top of your box!
You can add some cardstock to the insides of your box if you are wanting to give it a bit more structure, but it will stand on its own just do the way it was made.
If you are looking for some filler for your box when you are giving it as a gift then you can use some fabric or yarn scraps! You can always use tissue paper too, but if you have the yarn scraps lying around – then why not?
Learn about what else you can do with yarn scraps here.
Try experimenting with different sizes and even different yarns. You can also create other three-dimensional tapestries using the same ideas and paper mock-ups! Tag @cole.bun on Instagram with your creations!
⇣ Love It? Share It! ⇣
You May Also Like


