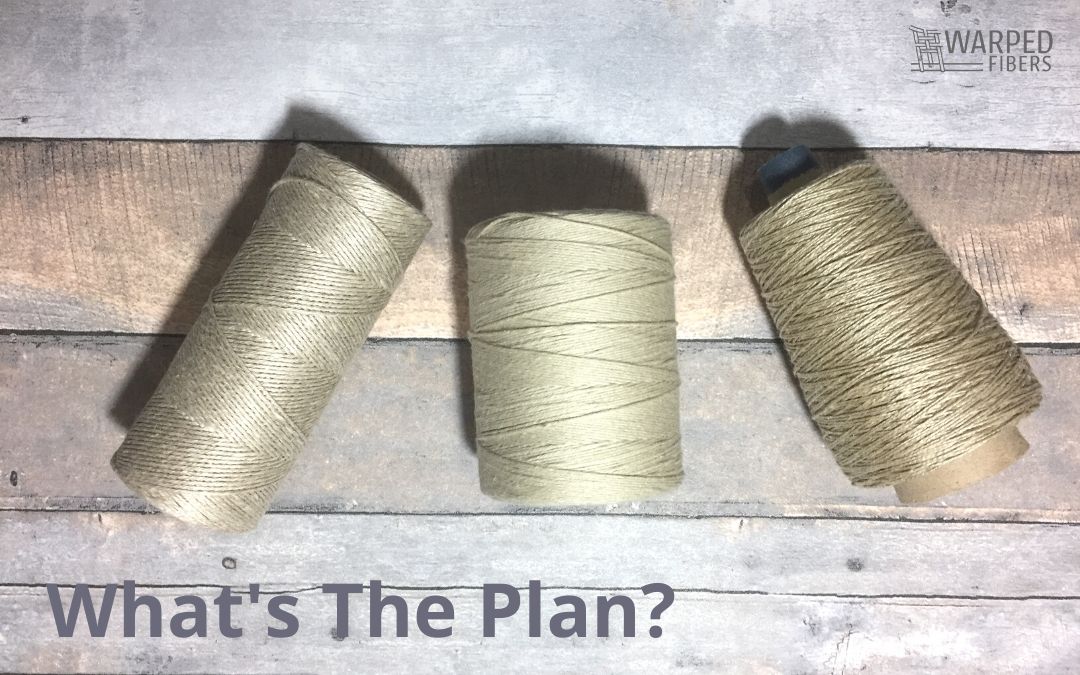
Depending on your yarn buying options you may never need any of these tools to wind yarn. This is because weaving yarn most often comes already wound onto a cone or tube ready to go.
This makes setting up your loom or winding your shuttles simple!
That being said, you may purchase yarn on a skein. This yarn needs to be wound in order to use it, otherwise, it will become a tangled mess.
Depending on the option you choose, the yarn – once wound – will be turned into either a ball or a cake.
A ball of yarn is pretty self-explanatory, but what is a cake?
Essentially, it is the same thing except that the top and bottom are flat.
Neither one is better than the other, the different forms just come from the way that the tool winds them.
So if you find yourself with yarn that needs to be wound then what are your options?
Jump To:
- Using a ball winder
- Nostepinne?!
- Wind your yarn with a knitting needle!
- Winding yarn by hand
- Do you need an umbrella swift?
This page may contain affiliate links. If you purchase something through these links then I will receive a small commission – at no extra cost to you! Please read our DISCLAIMER for more info. Thanks for the support!
Using a ball winder
Probably the most well-known and common way of turning a skein of yarn into a cake: the ball winder is also one of the fastest ways to do it. Despite the name ball winder – it actually makes yarn cakes, but really it does not matter since they do the same thing!
You can either get a manual one or an electric one depending on how much you want to spend and how much work you want to do. These are both great options if you will be winding a lot of cakes and want something that goes relatively fast.
Nostepinne?!
The nostepinne is the original ball winder! It is also the one you probably have never heard of – until now.
Nostepinne means “nest-stick” in Scandinavian and that is a pretty good name for this tool. It is a polished stick that you nest your yarn on to create a center-pull ball. These polished sticks are a simple tool that you can carry with you anywhere. They are actually pretty simple to use too, but they do take a bit longer to wind your ball than a ball winder.
They also require a bit of patience to get the rhythm of the ball going. It will actually feel a bit odd at first, but sticking with it will get you a satisfying center-pull yarn ball!
How to use a nostepinne:
Open up your skein and either place it on an umbrella swift or stretch it across a stable surface.
Find one end of your skein and either wrap it around the far end of your nostepinne a few times or attach it with a slip knot. This will be the center-pull part of the ball.
Start wrapping your yarn around so that the wraps are sitting next to each other. After you have done this a few times, you can start to cross them diagonally as you twist the nostepinne towards you. You will want to try to catch it on the shoulder of the ball you are making as you go. This will help to make sure that it does not get loose.
Twisting the nostepinne while wrapping will ensure that the ball grows evenly and securely. You will want to make sure that your wraps are not just building upon themselves. Also, make sure that you are not wrapping too tight so you do not stretch out your yarn.
When you are done you can simply slide off your ball and tuck in the yarn end that was originally wrapped around the nostepinne!
This is the nostepinne I am using! The Kromski nostepinne in mahogony.
There is more than one way to wrap a nostepinne, but this is the way I was taught. You can always play around with it to find a way that feels natural to you. Another common method is to wrap your yarn in a figure 8 pattern. Try it out and see which one you like!
Wind your yarn with a knitting needle!
Knitting needles are used in much the same way as a nostepinne since they are basically the same shape.
When it comes down to it all you really need is a stick to wrap some yarn around!
The directions are also the same as for the nostepinne. The only difference is that there is no dedicated notch to attach the center of the yarn to, so just make sure to keep it separate.
The advantage of the nostepinne over the knitting needle is that the nostepinne will be more comfortable to hold. Since it is a dedicated tool for that purpose it is made to be held for longer periods of time while you are working with it.
The advantage of the knitting needle is you may already have one in your studio!
If you only need to wind a ball of yarn occasionally then this may be a great option for you. If you will be winding yarn balls often then you may want to invest in a nostepinne or a ball-winder.
I am using the Clover bamboo knitting needles in size 17.
Winding yarn by hand
If you have none of the above and you still need to create a ball to work from then you still have an option! This option does not create a center-pull yarn ball, but it still creates a yarn ball that is in a format you can easily use for warping or shuttle winding.
I have actually gone over instructions on creating a yarn ball by hand in my t-shirt yarn tutorial. If you are looking for a yarn winding option that does not require any extra tools then make sure to check out my t-shirt yarn post.
Do you need an umbrella swift?
No and maybe.
Let’s first start off with what is an umbrella swift?
An umbrella swift is a tool that is used to hold a skein of yarn and turn freely as the yarn is taken from it in order to turn it into a ball or cake. They are often made of wood, but also sometimes made of metal and plastic and they open up much like an umbrella does (hence the name.) This means that despite their open size, they do get smaller and easier to store when not in use.
Umbrella swifts are a great tool to have if you are winding yarn because it holds the skein for you and does the work of keeping it tangle-free during the winding process.
If you are using either the nostepinne, knitting needle, or winding a ball by hand then you do not need the umbrella swift. You can put the skein around a chair back or even around your knees while you are sitting in order to keep it taught and tangle-free.
If you are using a ball winder though (and especially the electric ball winder) you will want an umbrella swift to accompany it. So while the ball winder itself is sometimes not that much more expensive than your other yarn winding options, the fact that you need the umbrella swift definitely adds to the expense.
The yarn I am using in this post is from Sheep and Shawl on Etsy!
The yarn I am using in the video is Cascard BFL from the Woolery!
…Or you can get your umbrella swift and yarn winder separately to choose which ones you want! Get the same wood umbrella swift I am using on Amazon here!
Regardless of how you decide to wind your yarn, it is always good to have some options in your weaving toolbox (literal and figurative!) If winding balls of yarn is not going to be a regular occurrence then stick with a simple method with inexpensive tools or ones you already have.
If you need to wind your own yarn often then I recommend investing a bit more to get a swift and a ball winder so you can spend more time weaving and less time preparing to weave.
⇣ Love It? Share It! ⇣
You May Also Like


