

The best gifts are those you make.
No, really!
It’s not just something your mom told you when you gave her that macaroni necklace as a kid (I’m sure she loved it).
Giving the gift of woven art is an amazing handmade present that pretty much everyone would be lucky to receive. Perhaps I’m biased, but there’s not much like receiving something that someone put time and energy into. That being said, who has time to create large woven artwork for everyone on their list?
Not me.
Instead, you can create simple DIY woven gifts that shouldn’t take too long or cost too much. That way, you can make more! These handwoven gift ideas could be great for holidays, birthdays, thank yous, or anytime!
Gift ideas:
Bookmark
Bracelet
Ornaments
Coasters
This page may contain affiliate links. If you purchase something through these links then I will receive a small commission – at no extra cost to you! Please read our DISCLAIMER for more info. Thanks for the support!
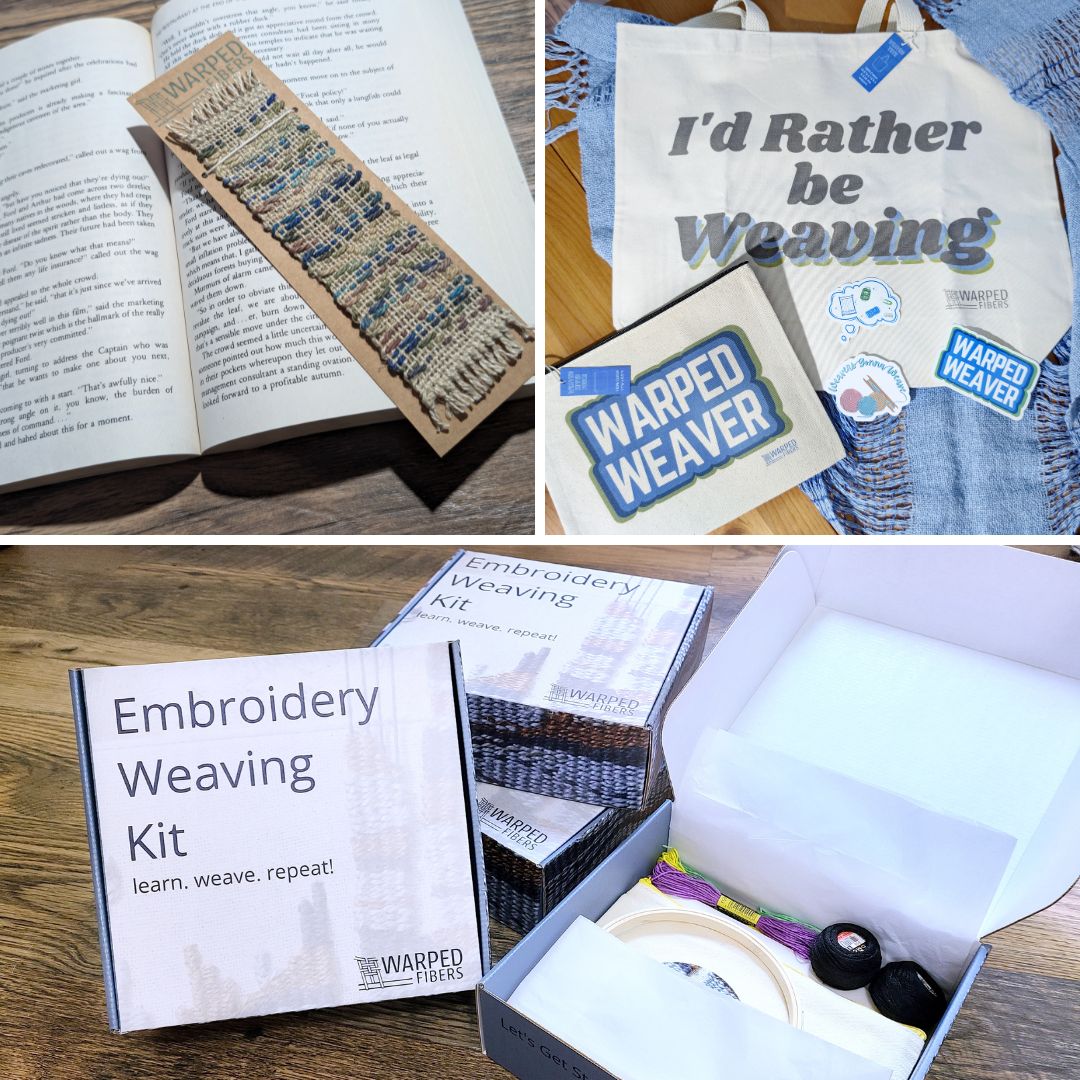
Simple Handwoven Bookmark

This attractive little weaving is a perfect gift for someone who loves to read and enjoys the little things. You can weave this in many different designs depending on who you are giving it to. The simplest design would be simple horizontal stripes! This woven bookmark is a simple plain weft-faced weaving (tapestry).
Make sure to choose yarn that is on the thinner side. You don’t want anything too bulky between the pages of the book. You can also either iron (if you are using acrylic yarn than be careful of your heat settings) or press it to flatten it our some before gifting.
Project notes:
EPI – 6 Ends Per Inch
Yarn used – 8/4 Cotton rug warp and sock weight knitting yarn for weft
Size – 1 1/2″ x 5″
You can easily make different sizes for different books. This size is great for a small book.
Weaving instructions – You can weave as simple or as complicated as you want. You can easily make a very attractive woven bookmark with self-striping yarn with very little effort. If you want to get more detailed you can weave shapes or patterns (note that patterns will probably require a different EPI).
Weaving up a more balanced weave as opposed to a weft-faced weaving will also create a thinner bookmark. Experiment with different patterns and sizes!
This bookmark was woven on a simple cardboard loom to make it as fast and easy as possible. If you warp your cardboard loom like your EPI Mini-loom then you can actually weave a bookmark on each side and get the most out of your time.
You can also weave this on a frame loom or rigid heddle loom if you want! Do what works for you!
Finishing – You can finish this bookmark with simple overhand knots. You then have the option to either leave the warp as is or for a more frayed look you can un-twist the plies of your yarn. Don’t forget to tuck your tails back down your warp channels so the bookmark is flat and smooth on all sides.
Handwoven Bracelet

Similar to those friendship bracelets you may have made as a kid – this woven bracelet is a step above and makes a great gift for anyone who appreciates wearable art.
You can create a thin band for the wrist or ankle or a thicker band to be worn like a cuff. Another option is to gift a few bracelets of different sizes to mix and match! If they all have complimentary color schemes than wearing thinner and thicker bracelets together can be a lot of fun.
Project Notes:
EPI – 12 EPI
Size – 1/2” wide and 5“ long (6 total warp ends) or 1/4″ wide and 5″ long (4 total warp ends)
These bracelets are only 5″ long because I made them to go over my wrists and I have tiny wrists… That being said, the weaving doesn’t have to go all the way around the wearer’s wrist so if you don’t know exactly how long to make it then don’t worry!
You can make them as long as you want and as wide as you want. For a thinner bracelet – I don’t recommend any less than 4 warp ends though, for ease of weaving.
Yarn Used – 16/2 Cottolin for warp and weft. This is a GREAT yarn for this because it drapes really well and is super soft. This makes a comfortable and long weaving bracelet.
Set Up – A cardboard loom is really easy to use here as well. Wrapping the warp all the way around should give you plenty to work with for sizing the finished bracelet.
Weaving instructions – Again, just like the bookmark, you can make simple stripes look very impressive. Change up their sizes or position to create fun patterns or designs. Due to the size of the yarn and the weaving – you can get away with using a weavers knot instead of weaving in your tails for these woven bracelets. Normally I would never recommend weavers knots for a finished piece, but they end up being so small that it works out ok. Just try to make sure the small knots end up on the back of the bracelet.
Finishing – Finish these up with simple overhand knots that are flush with the edge of your weaving. I recommend anchoring your bracelet with your yarn, a book, or something heavy to make it easier to tie.
To create a movable knot you will want to start an overhand knot on one side of the bracelet, but don’t pull tight just yet. Place the other end through the loop. Then you can pull that knot tight. Place 2 more overhand knots on each end of the bracelet to keep it from coming undone. Trim off any excess. Make sure to leave enough slack in the bracelet for the receiver to get their hand through!
If making an anklet or you just don’t want to do the movable knot – then you can skip to the overhand knots at the ends of each side and the wearer can tie on the bracelet or you can add a bead button instead!
Variation Idea – Make a wider bracelet that has a button or snap on the ends. If you decide to do a button to close it then you can use split tapestry on one end for the button hole. No need to cut into your bracelet if you can plan ahead.
For this variation you would want to choose a finishing method that eliminates the warp at the ends. I.E. weaving them back into the weaving itself.
DIY Woven Ornament

You can make many different types of ornaments with weaving, but a miniature wall hanging might just be the cutest option you have.
Again, you can keep this pretty simple and it will still be impressive. Due to its size, I don’t recommend trying to be too detailed. If you are looking to add something extra then using embroidery on the surface of the ornament will probably be a simpler idea.
Project Notes
EPI – 6 EPI
Yarn/ Materials Used – 8/4 cotton rug warp and similar sized yarn for weft. Small dowel rod or stick.
Size – 2″ x 2″ – 12 total warp ends
Weaving Instructions – You can weave as simple or complicated as you want. You could do an entire ornament with rya knots or do one color tapestry and embroider on top.
Finishing – Attach your weaving to the dowel rod or stick by taking your warp yarn coming from the top of the weaving and bringing it around. Insert the warp back into the weaving and secure it by going back up an adjacent warp channel. Use an extra piece of yarn and tie it to the ends of the stick – you could also braid it for a more finished look. This will be how you hang it.
Tuck in any tails at the back.

Pom-Pom Ornament

While not actually a woven gift idea, this ornament does use yarn and is incredibly simple. You can possibly even use left over yarn from other projects if you have enough on hand! These are great when given in groups of a few ornaments and they’re so fast that it will probably take you less time than any of the other DIY gift ideas on this list.
Project Notes
Materials Needed – Any yarn that you have laying around! Play with fun colors and textures. You can use different sized yarns for variation in the pom-pom or the same yarn throughout for something simple. You will also need a pom-pom tool or a fork. Don’t worry – the pom-pom tool is an easy DIY.
DIY Pom-Pom tool – Find some cardboard or chipboard. Cut a notch out of the rectangle.
Done. That’s it. Now we make pom-poms!
Instructions – Wrap your yarn around the pom-pom tool or fork a lot. Like a lot a lot. The more you wrap it, the fuller it will be. Make sure to leave a little bit of room at the inside of the notch so that you can gather your ball later.
You can use more than one color of yarn for a fun multi-colored pom-pom. Wrap each color a few times and repeat. If you are using more than one colored yarn then just make sure to start and stop the yarn at the edge of the maker and not in the middle.
Once done, take a new piece of yarn (probably the same color) and tie a knot as tight as you can around the middle of the wrapped yarn. You will be able to access this if you left space in the notch. If you didn’t then you can use a tapestry needle to assist you. Slide the entire thing off the tool and tie another knot on the other side.
If using a large enough piece around the middle you can use the remainder after knotting to hang your pom-pom from. If it’s not long enough, you can prepare another piece of yarn or braid and attach it to the knotted yarn.
Cut the looped yarn ends to separate them and create your ball. Trim and fluff as needed! The more yarn you wrapped and the the more you trim off the denser your pom-pom will be.
Don’t throw away your trimmings! You can save them and use them in upcycled yarn projects later.
Painted Woven Coaster Set

Woven coasters are a fun and simple project that you can weave up in little time. You can weave up simple stripes for a classic design without a lot of bulk on the back due to the changing of weft yarns. If you are looking for a more detailed design then you can paint it on with acrylic paint!
Project Notes
EPI – 6 EPI
Size – 4″ x 4″ – 24 total warp ends per coaster
Yarn/ Materials Used – 8/4 cotton yarn in whatever color you choose. Cardboard loom or any frame loom. Fabric silkscreen ink, paintbrush and/or stencils. Iron and ironing cloth.
Instructions – Warping your frame front and back will allow you to get more coasters with just 1 warp. If you are planning to paint on your coaster then all you need is a simple weft-faced weaving of 1 color. You can change it up by adding in another color, but keep it pretty simple so that it doesn’t overwhelm the design. The less color changes you have will result in fewer tails to weave in at the end. Stencil or paint on whatever design you want! You can do this while it is still under tension or once it has been taken off the loom – personal preference. Polka dots are a cute and timeless option, but you can also use varying stripes, open circles, or any other geometric shape!
Finishing – Use an overhand knot on your warp as close to the coaster as possible. You can finish these with simple fringe (untwist plies for a fun shaggy look) or go for a cleaner look by tucking your warp ends back in the weaving. Don’t make the fringe too long or it will get messy.
Once your ink design is dry – cover your coaster with an ironing cloth and iron on the highest setting for your yarn. The silkscreen ink is heat set so this will keep it from washing out or transferring to your cup.
Other woven gift ideas:
Keychain – You can make this similar to the bookmark, but attach a keychain ring to the top!
Pot holders/ trivets – Think of this as a larger and thicker coaster! Test out your options before committing to make sure they will adequately protect you or your surface from the heat.
Headband – A woven headband won’t be stretchy (unless you can find a stretchy yarn) but can be woven with a button closure to get over and around their head.
Small mounted wall-hanging – When in doubt – make art!
You don’t have to spend a lot of time on your handmade presents for them to be special. Once you deem someone weave worthy, then any of these DIY woven gifts will be great for any occasion! Are you planning to weave up some gifts?
Looking for more simple weaving gift projects? Check out these one-day weaving project ideas!

⇣ Love It? Share It! ⇣

You May Also Like


You’ve inspired me to try something new! I’ve never attempted any woven crafts but I love the coasters! So cute and practical. Great post!
Yay! The coasters are really fun to make and since most of the design actually comes from the silkscreen ink – they couldn’t be any easier!