Sometimes you just want to create an easy woven project that does not take a lot of extra thought or planning. Even better if it also does not require a lot of extra finishing techniques as well. From start to finish, lazy weaving projects are simple, fast, and satisfying.
If you are looking for a project that allows you to just keep weaving until you run out of warp and get lost in the weaving process then these lazy woven coasters are perfect or you.
Why lazy weaving can be great
First, let’s talk a little bit about what I am affectionately calling “lazy” weaving. This style of weaving is not actually lazy as it still requires you to warp your loom and weave up your project.
Instead, lazy weaving means the skipping of steps that are not necessary for the success of the weaving.
In the case of these coasters, the difference between lazy and “non-lazy” weaving is that we are not separating the coasters by adding in spacers. While this may seem like a small difference, when it comes down to the finishing process we will be going for a much faster solution. When you weave in spacers it means you will have to finish all of the selvedges which can take a long time.
Weaving this way means that you get to Just. Keep. Weaving!
Go ahead and get lost in the process. Put on an audiobook or stream that new show. Have a weave-along with friends and get lost in the conversation. (all highly recommended!)
This method will not work for every type of weaving you do. It may not even work for a lot of weavings that you can do, but if you are looking for something that will allow you worry a bit less and produce a useful product then this is perfect.
Lazy weaving means taking shortcuts when they are appropriate but it does not mean sacrificing the integrity of your weaving. You still probably want to pay attention to your beat and your selvedges. Make sure the weaving itself lives up to your ideals and just keep going.
In other circumstances, lazy weaving may mean not caring about your selvedges because you are planning to sew your fabric into something else or not weaving in your tails for the same reason.
The pattern
Let’s move onto a project!
You could use a lot of different patterns for this project, but the one that I am using here is adapted from my colorblock scarf pattern. If you haven’t already joined the Warped Community (for free!) make sure you do and you will get access to the colorblock scarf pattern and more! Join here.
This is a really great pattern for this coaster project because it is bold and simple.
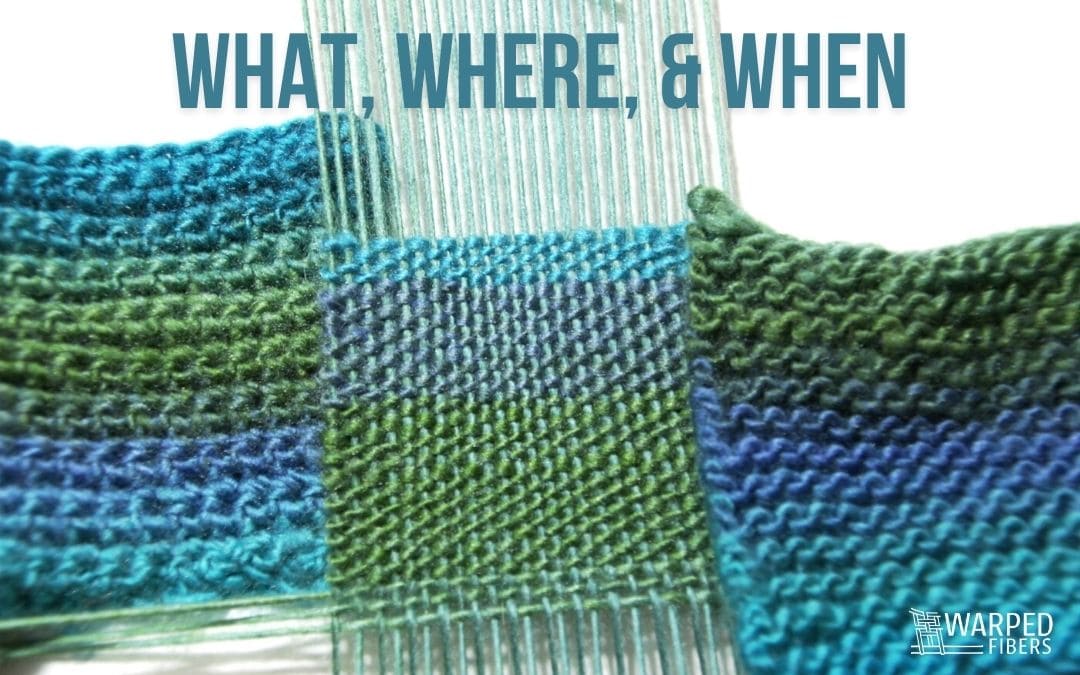
Unlike the original pattern we are stopping each color block sooner since our weaving is thinner. Each color block is about 2.5 inches long instead of 6. You can weave an extra pick or so of weft for each color too to make up for the space needed to sew between each one, but if you don’t then that’s ok! They will be just a little shorter than 5 inches. We are weaving lazy here, so do whatever feels right.
The width of our weaving is also 5 inches instead of 10 from the original pattern. This gets us 5 inch square coasters with 2 color blocks on each one.
Preparing your coasters for sewing
Sewing your weavings can be really scary sometimes. I did an entire post about how to get over your fear of sewing handwoven fabric and you can read about that here.
That being said, we are doing something a little bit different this time around.
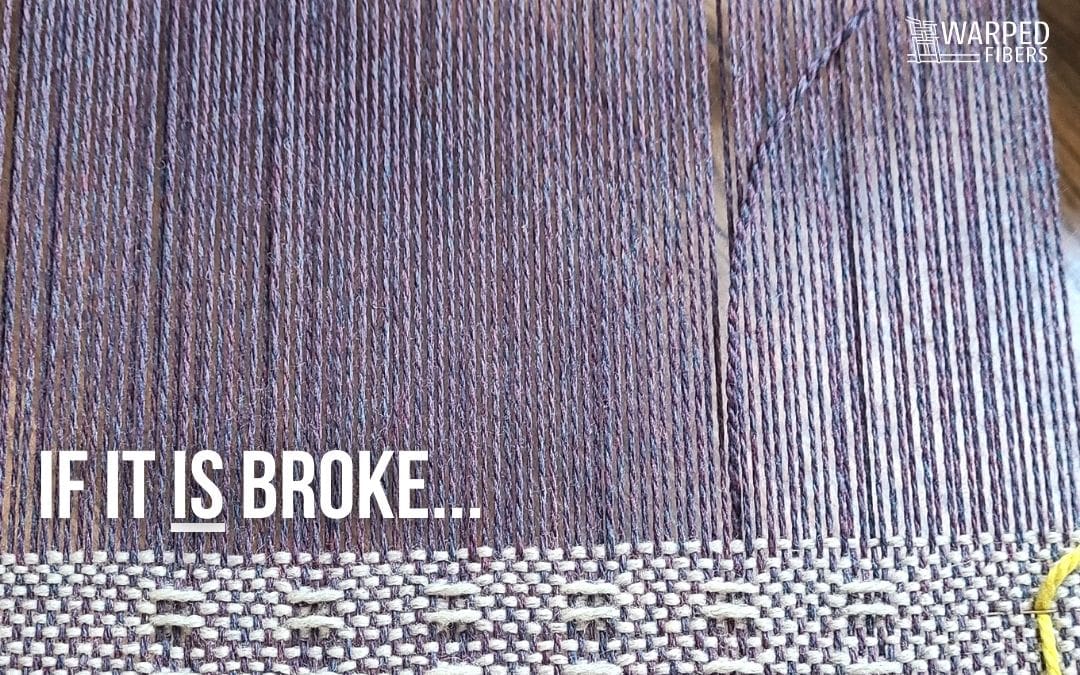
First thing you will want to do is finish up your weft tails. I highly recommend you do this before you do any sewing on your fabric. If you wait to do this step later then there is a really good chance that you will accidentally sew one of your tales onto your weaving (see image above. oops.) You should be able to cut any trapped tails, but it is a lot easier to just do the work at the beginning instead of fixing it later.
Learn about dealing with your weft tails here.
Next, you will need to wash your weaving.
This will make sure that your yarn has filled out and settled.
Handwash your weaving with a gentle soap and warm water and you will want to agitate it some, but not too much. I am using 100 percent wool so I am actually hoping for it to felt a bit. This will make it even easier to sew. If you are not using wool or your are using a superwash wool then don’t worry. It will still sew up fine without felting!
Learn more about yarn treatments here.
After washing, the best way for your weaving to dry is to lay it flat on a towel. I usually just leave mine overnight.
After your weaving is fully dry we can sew our individual coasters!
Sewing our woven coasters
We will be using a regular straight stitch and going over it twice to make sure all of your warps and weft are secure. You could also use a zig-zag stitch instead, but without a backing on your weaving this can be a bit sketchy at times. At least on my sewing machine it moves the yarns too much. Doubling your straight stitches are a safer option.
I always like to practice on a scrap piece of fabric first to make sure my sewing machine is behaving. You don’t want to start sewing on your handwoven fabric only for your sewing machine to get stuck! Sacrifice some normal fabric first!
The first line of sewing will be up against your warp ends. I usually just tie off my warps for a fast option to keep everything in place to take it off the loom. I go over the same line twice to make sure to catch each and every yarn. This will help to make sure nothing escapes after you cut your weaving.
Next, you will want to sew two parallel lines just on either side of a color block change with about a quarter of inch between them.
You will cut between these lines when you are finished. You can either sew and then cut and sew more, or sew all of your coasters at once and then cut. It is entirely up to you!
Finishing your coasters
After cutting your coasters apart you may need to clean them up a bit.
Trim any threads left over from sewing and gently tug at the sewn selvedges of your coasters. You may get some errant pieces of yarn or fuzz that come out of the edge. This is totally normal! Just pull them out and trim your coasters until they look clean.
Your lazy woven coasters are now ready to use!
What are your thoughts on lazy weaving? Let me know!
Shop This Post!
This page may contain affiliate links. If you purchase something through these links then I will receive a small commission – at no extra cost to you! Please read our DISCLAIMER for more info. Thanks for the support!
⇣ Love It? Share It! ⇣
You May Also Like


