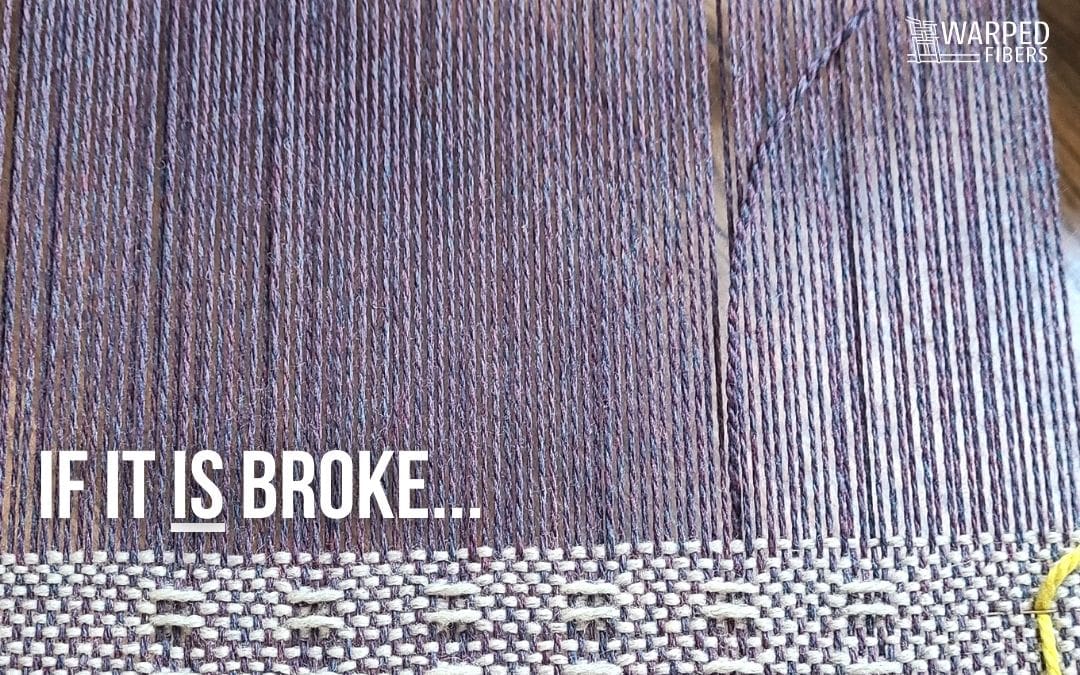
A downside to fabric is that it wears down!
Depending on the type of fabric and the amount of use this could happen at any number of times throughout the life of the fabric. I am sure you have a sock or two that has gained some holes over the years.
We’re going to be working on socks today because they are one of the most often darned garments, but really this technique should work for pretty much anything. Whether you knitted the socks yourself or purchased them it is a good idea to fix your socks instead of throwing them away. This is better for the environment and for your wallet.
You could also reuse them for something else (I made a pin cushion out of an old sock that you can see HERE)
There are multiple ways to darn your worn clothing, we wlll be focusing on the most common one that involves weaving a patch onto your fabric.
This page may contain affiliate links. If you purchase something through these links then I will receive a small commission – at no extra cost to you! Please read our DISCLAIMER for more info. Thanks for the support!
What is darning
Darning is the process of mending fabric with worn areas of holes using a needle and thread.
It was at one time an essential skill that girls learned while growing up as there was constantly a need to repair fabric instead of buying new. They would practice with darning samplers much like the embroidery samplers most of us are familiar with. These samplers date back to around the 1700s.
Darning tools
Some of the best darning tools that you can find are vintage. At the very least, they tend to be the most beautiful (yes beautiful!) options that you can choose from. You can also find great handmade options that are most often made from beautiful and exotic woods. If you’re looking for vintage or handmade darning tools then I recommend checking out ETSY as they have some amazing and beautiful options.
That being said, you can find new ones at most places that sell sewing supplies or online on Amazon.
Egg
This is the shape that is the most commonly used when darning fabric. You can get these either as a standalone egg or with a handle. They both work the same, but the ones with a handle can also be used to darn the fingers of your gloves or other smaller areas of fabric.
Mushroom
Mushroom darners are also a traditional shape to use. They offer a wider top surface than some of the eggs and also feature a stem for smaller areas. I will be using a mushroom in the tutorial below that I got off of Amazon. I repainted it a little because I thought it could be cuter, but that isn’t a necessary step…
This mushroom also came with embroidery floss that you can use for darning, but I wouldn’t really recommend it since it isn’t as durable as using yarn like that originally used in the fabric.
You can get the mushroom I am using HERE.
Ball
Similar to both the egg and the mushroom, but the ball is … a ball. You can either purchase smooth wood balls that you can use or just use any round object you have laying around.
Makeshift tools
When looking for a tool to use for your darning you want to make sure that it’s smooth and preferably at least partially round. While I have used a tennis ball to darn my socks before it’s not quite ideal because of the fuzziness of the ball. It’s too easy to pierce the fuzz with your needle while you’re darning.
Instead you could use a baseball or any other smooth ball of a similar size. You can also consider a bottle, jar, or any other round object.
Needle
Darning needles are similar to tapestry needles. Blunt tips on your needle are essential because you don’t want to pierce the fabric you are trying to mend. You will also want a large eye for the yarn and a bent tip is a nice addition but not necessary.
You can use any tapestry needle you have on hand that works well with the yarn size you are using. While generally, I like larger tapestry needles, a smaller needle is usually a better option for darning. This will limit the effects of the needle going through the fabric that is still intact.
If you are weaving a more densely woven fabric like denim then you will need to use a needle with a sharp point to go through the fabric. In a case like this, your tapestry needle just won’t do.
You can learn more about tapestry needles HERE.
Yarn
Depending on whether you want your yarn to blend in or stand out will help you determine the yarn you choose.
Choosing the material of your yarn that is similar to the material of your fabric can be a good idea so that it washes and wears the same. Wool yarn for wool socks, etc.
The size of the yarn can also play an important role. Using a yarn that has a larger diameter than that originally used can make the mended area a little bulky. If you are worried about it needing repair again in the future this may not be a bad thing, but you might not like the look or feel of the thicker yarn. When in doubt, I would go with a little bit of thicker yarn since that area obviously sees a lot of wear. You don’t want to have to darn the same fabric over and over again!
For this mend I am using Harrisville Shetland Wool. The advantage to wool over other yarn options is that wool will felt over time with washing. This will make for a more solid patch.
Scissors
These are pretty self explanatory. You will need scissors to cut your yarn! Any fabric scissors or yarn snips will do.
THESE are my favorites because they are sharp and snips make things just a little bit faster than scissors.
How to darn
Insert your darning egg, mushroom, ball, or whatever you are using into your sock or behind the fabric being mended. While not necessary, you can use a rubber band or tie a string around the base of your tool. This will help keep it in place if it is moving around a lot as well as keeping it taught.
Keeping your fabric taught is important because you want to make sure it isn’t bunched up beneath your new darned fabric you have created.
Tie an overhand knot at the end of your yarn and bring it through the inside of your sock. This will keep the knot from being visible. Make sure to start your yarn in the fabric that is still good (back from the hole or worn area) to keep it more stable.
The first step is to create the warp with your yarn. Just like any other weaving, this is the foundation of your darned patch.
When warping your patch you do not want to just go up and down. Instead, between your “warp” you will want the yarn to travel perpendicular at the top and bottom of the area to be mended. This will make sure you have spacing between your warps and make it easier to weave up. You can see this in the image above paying special attention to the diagram in red.
While you can just pierce the fabric and travel back to the opposite side of the hole, this will make it so the warp is closer together at the top and bottom. It will be harder to see which warp to choose and possibly make you skip warps as you go.
Once you have traveled across the entire hole and passed it about a warp or two, you will then need to fill in the weft.
It’s important to always go back into the sock with each pass to make sure it stays connected to the fabric. If you don’t go back into the fabric you will have created a pocket instead of a patch!
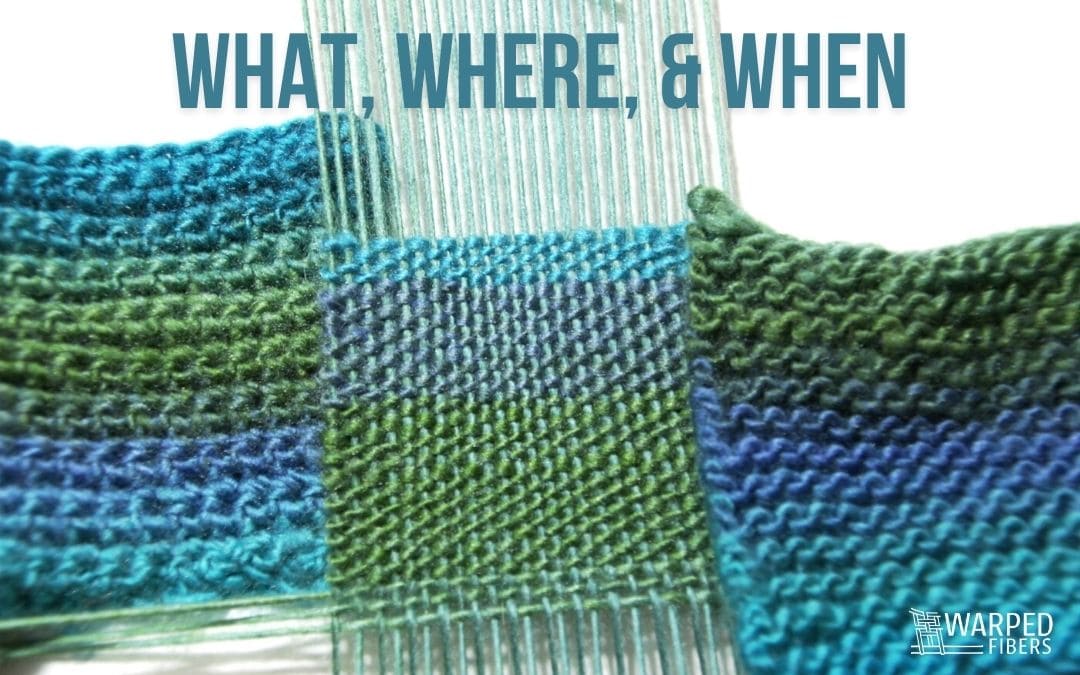
When darning you will be using a plain weave pattern (over one and under one.) This is the most stable and simplest option for your darning. Learn more about plain weave (and the two other basic weave structures HERE.)
When you are finished make sure to go back into the fabric and then turn it inside out so you have access to the underside. Secure the yarn with a knot and you are done!
Shape
When darning you are completely in control! Due to the fact that you are working on top of fabric and not on a loom you have the option to make your darned area any shape or size you want.
You can darn your patch to be perfectly square or make it match the shape of the hole you are covering up. You can even make an entirely new shape that doesn’t correspond to either.
Weave a heart, triangle, or even a paw print onto your fabric to really make it unique. Any shape you want!
Creative darning
Traditionally darning was made to blend into the fabric being mended. People were not trying to advertise that their clothing was not new.
Nowadays, though, visible and creative darning has become more popular as zero waste and low waste have become less radical and more common. So if you are making the effort to save your fabrics, why not make them even more interesting by adding some flair?
Darning can be done so that it is virtually indistinguishable from the fabric that you are mending. Unless you are mending a woven fabric, it will be pretty easy to tell the difference between the darned portion and the original. Keeping with the same color, though, will help to blend it in regardless of the method used to make the fabric.
If you are wanting to highlight the mended portion then you can do so in a few different ways beyond just changing the shape.
The simplest way is to simply use a different color! Find a color that is complementary and/or brighter than the original color(s). This will make it stand out.
You can also play with your coloring and create stripes, plaids, or other simple patterns. This is especially exciting if the original fabric is a solid color.
Have fun with your darning and weaving adventures!
References
⇣ Love It? Share It! ⇣
You May Also Like


