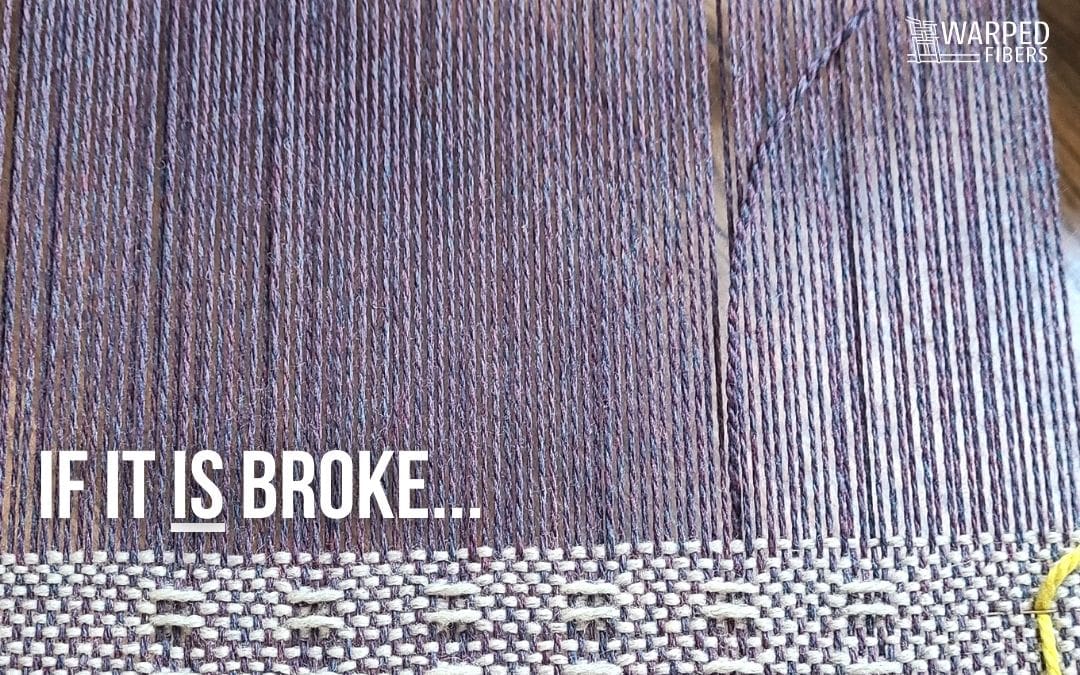
Floating selvedges are an essential part of weaving patterns.
They make your life easier with each pick you weave and mean you do not have to think too hard about what you are doing. Instead, they allow you to be lost in the process of weaving – as you should be.
Let’s back up a bit though and first start with the big question.
Jump To:
- What are floating selvedges?
- When you need floating selvedges
- How to set up floating selvedges
- Using floating selvedges
What are floating selvedges?
Floating selvedges are used on floor looms and table looms and are extra warps on each side of your weaving that are not threaded into any heddles. Since they are not threaded they will float above the rest of your warp and be stationary for the entirety of your weaving. You can see them in the image above as the first and last warps that are above all of the others.
These floating warps act as an anchor for your selvedges so that your weaving remains stable all the way to its edges.
When you need floating selvedges
If you are weaving plain weave or have only woven plain weave before you will have had no need to use or even know of floating selvedges. This is because with plain weave your selvedges warps are always caught by your weft when you switch to the next shed.
Take a look at the diagram below.
If we break down plain weave into squares then we can easily see that the selvedges of your weaving are always alternating. This means that your weft will always catch as it moves up to the next pick. This creates a very stable weaving.
What if you are weaving something other than plain weave?
That is where your floating selvedges come into play!
Now let’s look at a new diagram.
In the diagram below we are looking at twill. In the areas at the selvedge of your twill weaving you can see there are times when instead of your warps alternating what is being woven they are sometimes repeated. This repeat means that your selvedge warp is not catching when it moves up to the next pick.
Twill is one of the 3 basic weave structures. Learn more about the 3 basic weave structures here!
If your weft does not catch then your selvedges will not only be less stable, but your pattern will not go all the way to the selvedge.
In order to avoid this we use floating selvedges to catch any warps that would not have otherwise been woven.
How to set up floating selvedges
Floating warps are no harder to set up on your weaving than any other part. If anything they are technically easier because they do not have to be threaded through your heddles. The biggest part of the learning curve is understanding when to use them and then actually remembering to set them up.
You will have one floating warp on each selvedge of your weaving. These warps will be measured and sleighed through your reed just like all of your other warps. (I warp front to back so the instructions and information for floating selvedges will represent this.)
If you need to learn how to measure out your warp then read about how to use a warping board here!
When you go to thread your heddles you will sit the very first one aside and start your threading pattern with the second warp in the reed. Make sure to include the first warp in your bundle when you tie it onto your back beam.
Do the same thing with your very last warp. Do not thread it in your heddles but do make sure you include it in your bundles!
That is it! That is how you set up your floating selvedges!
If you forget to set them up then it is not the end of the world. Like most things in weaving – everything is fixable!
There are 2 main scenarios for when you forget to set up your floating selvedges.
First scenario: You have already threaded all of your heddles but you have not yet rolled your warp onto the back beam.
This is the easier fix of the 2 scenarios, although neither is very difficult.
If you forget to leave out the floating selvedge warp of your threading pattern then you can easily remove that warp from the heddle it is in and then tie it onto your back beam as per usual.
If you do this then that means that you will technically be skipping the very first part of your pattern at the selvedge, but honestly, this is not that big of a deal. You probably will not even really notice when everything is said and done.
Second scenario: You have finished rolling your warp onto the back beam.
In this second scenario, we have to almost create a broken warp-type system to add our floating selvedge without undoing all of your hard work.
If you want to learn how to fix a broken warp then you can do that here.
The first thing you will want to do is measure out 2 additional warps on your warping board. These are your 2 floating warps.
You will tie these warps to your front apron bar and then sleigh them through your reed adjacent to the rest of your warp – one at the beginning and one at the end.
At the other end of your warp yarn you will attach a weight of some sort to keep the tension on the warp as you weave. Make sure to put this warp over your back beam so that it distributes this tension evenly and does what it should do – float!
This scenario does create a weaving that is exactly 2 warps wider than your original weaving would have.
If this is something that you do not want then I recommend unwinding your warp from the back beam and going back to scenario 1. That being said, 2 warps will not make a huge difference in the size of your weaving. Decide whichever works best for you and your artwork.
Using floating selvedges
When you are using floating selvedges it is important to be consistent.
Since these warps are not threaded into heddles it means that they are not going to move as you step on your treadles.
This means that you actually get to choose when to go over and under your floating selvedges. It does not really matter which option you choose as long as you do it every time.
You can choose to go over both floating selvedges and then under both on the next pick. You could also choose to go over your right selvedge and under the left and then switch at the next pick.
Again, it does not matter as long as you do the same thing each time. The pattern you choose does not really matter because you will always be doing the opposite (over instead of under or vice versa) when you change your shed.
Depending on the pattern you choose it may or may not tell you that you will need to use floating selvedges but you can mostly assume that if it is not plain weave, you will probably need them!


